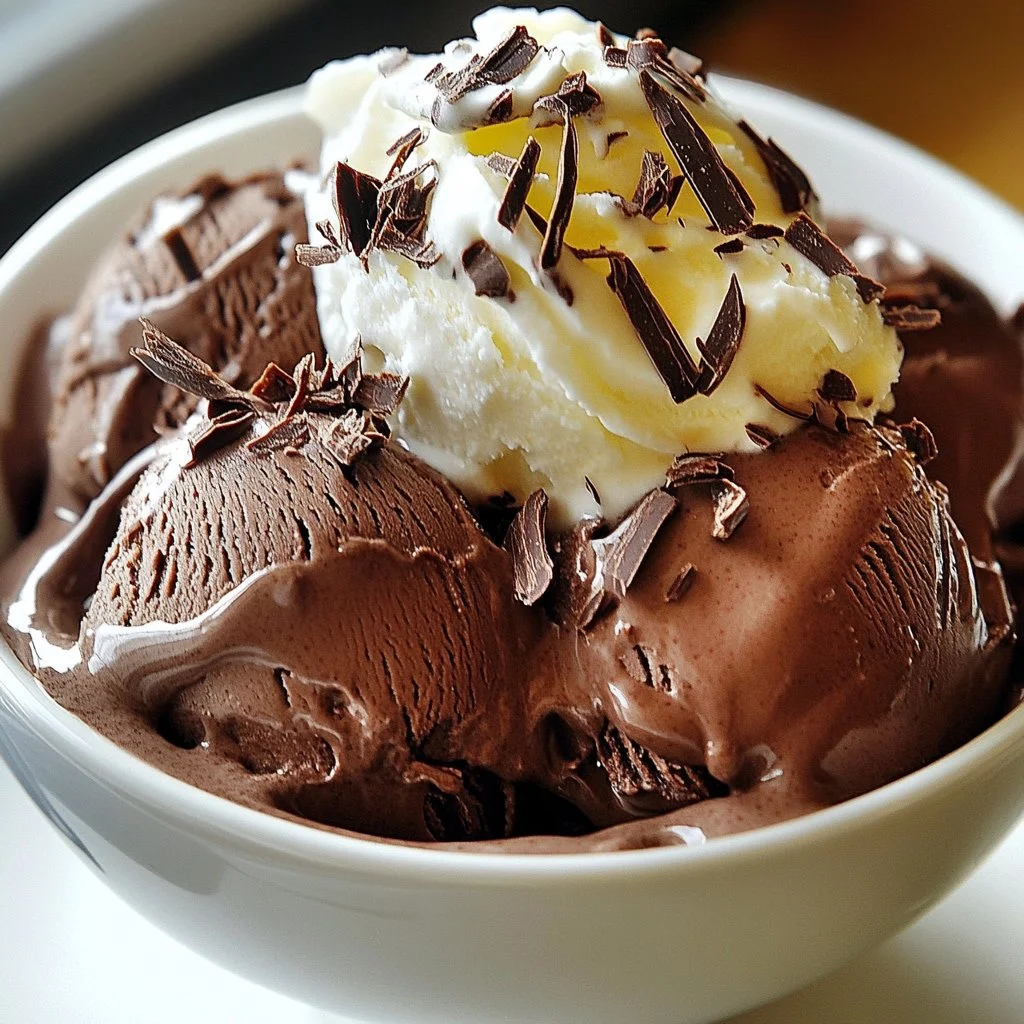
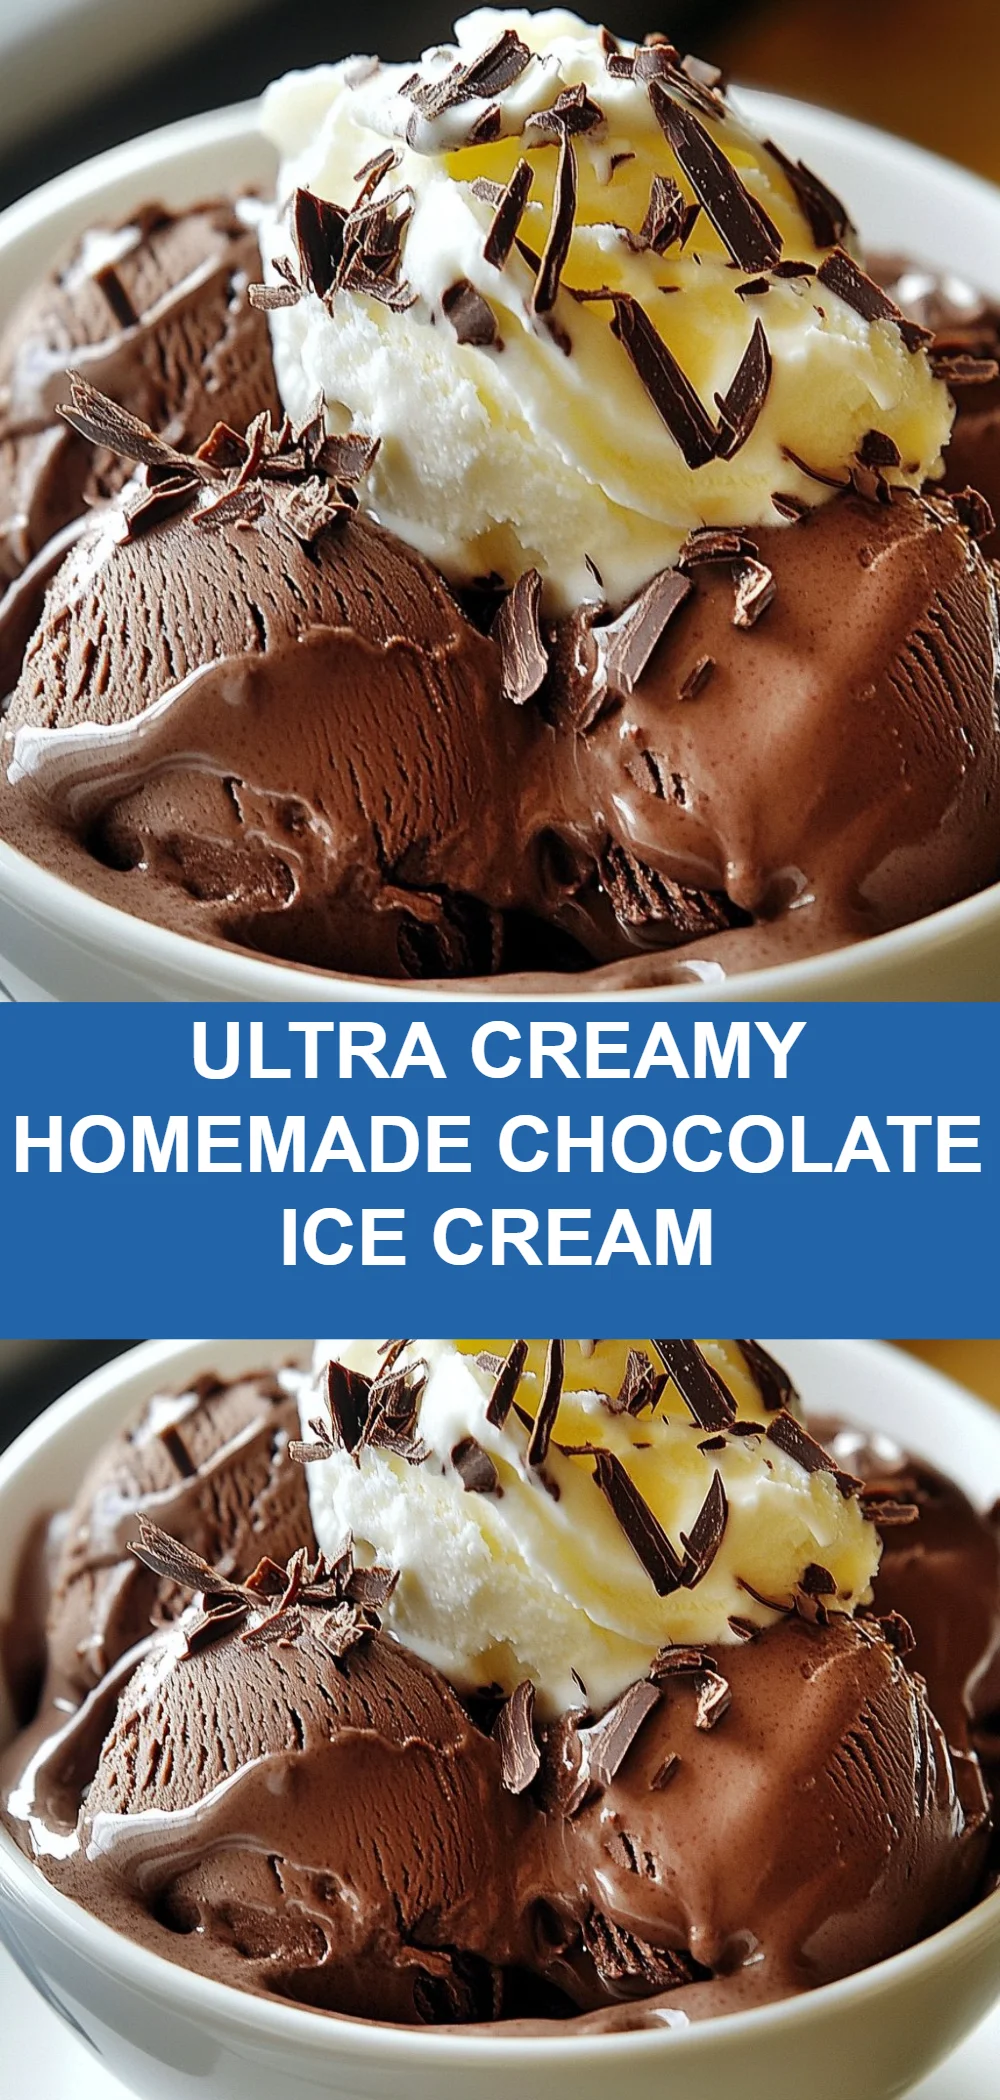
Ultra Creamy Homemade Chocolate Ice Cream is a delightful treat that brings joy to any dessert lover. This recipe promises a rich, velvety texture combined with an intense chocolate flavor that will ignite your taste buds. The lusciousness of the heavy cream paired with the deep cocoa creates an experience that is both indulgent and heartwarming. Perfect for warm days or cozy nights, this ice cream stands out for its homemade charm and the ability to cater to both adults and children alike. Let’s dive in step-by-step to create this chocolate paradise!
Why You’ll Love This Recipe
This recipe is a hit for various reasons. First, it’s incredibly easy to prepare, making it a go-to for family gatherings or a weekend treat. You don’t need to be a professional chef to achieve delicious results, and the straightforward steps ensure that everyone can join in the fun. Plus, with minimal ingredients – most of which you may already have in your pantry – it’s a win-win for busy households. It’s an excellent way to create cherished family moments, as everyone from toddlers to grandparents can enjoy scooping up this creamy delight!
For Ultra Creamy Homemade Chocolate Ice Cream
Ingredients
- 2 cups heavy cream
- 1 cup whole milk
- 3/4 cup granulated sugar
- 1 cup unsweetened cocoa powder
- 1 teaspoon vanilla extract
- 1/2 teaspoon salt
- 4 large egg yolks
- 1/2 cup semi-sweet chocolate chips (optional for chunks)
Step-by-Step Directions
- In a medium saucepan over low heat, combine the heavy cream, whole milk, and sugar. Whisk until the sugar is completely dissolved, making sure the mixture doesn’t boil.
- Gradually whisk in the cocoa powder until fully blended and smooth, creating a rich chocolate base.
- In a separate bowl, whisk the egg yolks. Slowly pour in about a cup of the warm chocolate mixture into the yolks while whisking constantly to temper the eggs without scrambling them.
- Pour the egg yolk mixture back into the saucepan with the remaining chocolate mixture. Stir continuously over medium heat until the mixture thickens enough to coat the back of a spoon (this should take about 8-10 minutes).
- Remove from heat and stir in the vanilla extract and salt. If you’re using, gently fold in the semi-sweet chocolate chips for added texture and deliciousness.
- Allow the mixture to cool to room temperature, then cover and refrigerate for at least 4 hours, preferably overnight to enhance flavor.
- Once chilled, pour the mixture into an ice cream maker and churn according to the manufacturer’s instructions until it reaches a soft-serve consistency.
- Transfer the ice cream to an airtight container and freeze for at least 2 hours to firm up before serving. Enjoy the fruits of your labor!
Tips & Tricks
For the best results with your Ultra Creamy Homemade Chocolate Ice Cream, consider these chef secrets. Always ensure your ingredients are at the correct temperature; for example, chilled cream and milk help in achieving that perfect creamy consistency. Experiment with the cocoa powder brands – different brands can yield different flavors. You could also add a pinch of espresso powder to amplify the chocolate flavor further. For a fun twist, add crushed cookies or nuts during the churning process to create a delightful combination of textures.
Serving Suggestions & Pairings
This decadent chocolate ice cream is perfect on its own, but there are plenty of ways to enhance your experience. Serve it in a waffle cone or a beautifully chilled bowl topped with whipped cream and a drizzle of chocolate or caramel sauce. You can also pair it with fresh fruits such as strawberries or bananas for a touch of freshness. If you’re looking to create an even more luxurious dessert, layer it with brownie pieces or cookie crumbles in a parfait glass.
Nutritional Information
While indulging in this Ultra Creamy Homemade Chocolate Ice Cream, consider the nutritional breakdown. Each serving will provide a satisfying dose of creamy goodness, with an approximate count of 300-400 calories depending on the portion size and whether chocolate chips are included. Though it’s rich and indulgent, moderation is key to savoring each homemade scoop while delighting in the taste of luxury.
Storing Tips & Variations For Ultra Creamy Homemade Chocolate Ice Cream
To enjoy your Ultra Creamy Homemade Chocolate Ice Cream at its peak, store it in an airtight container in the freezer. Keep it covered tightly to prevent freezer burn. If you want to make it healthier, consider substituting some of the heavy cream with coconut milk for a lighter version. You can also experiment with flavors by adding a hint of mint or orange zest during the cooking phase. Chocolate lovers can try different chocolate sorts, from dark to white chocolate, for exciting flavor explorations.
Conclusion For Ultra Creamy Homemade Chocolate Ice Cream
Don’t wait to treat yourself and your loved ones – this Ultra Creamy Homemade Chocolate Ice Cream is calling your name! With its rich, velvety texture and astonishingly deep flavor, it’s bound to become a favorite in your household. Make a batch today and share the joy of homemade ice cream with family gatherings or cozy nights at home.
FAQs
- Can I make this ice cream without an ice cream maker? Yes! If you don’t have an ice cream maker, you can pour the mixture into a shallow dish and freeze it. Stir every 30 minutes for the first few hours to break up any ice crystals until it firms up.
- How long can I store the ice cream in the freezer? This homemade chocolate ice cream can be stored in the freezer for up to two weeks. After that, it may lose some of its creamy texture.
- What can I do if my ice cream is too hard? If your ice cream becomes too hard, let it sit at room temperature for 5-10 minutes before scooping. This will help soften it for easier serving.
- Is there a way to make it dairy-free? Absolutely! Substitute the cream and milk with full-fat coconut milk and use a dairy-free chocolate option to create a dairy-free version.
- Can I add different flavors? Yes! Experiment with adding flavors like mint extract, peanut butter, or even crushed fruit for fruity variations. Just be cautious with liquid additions to keep the texture creamy!
Enjoy your enriching journey into homemade gourmet desserts!