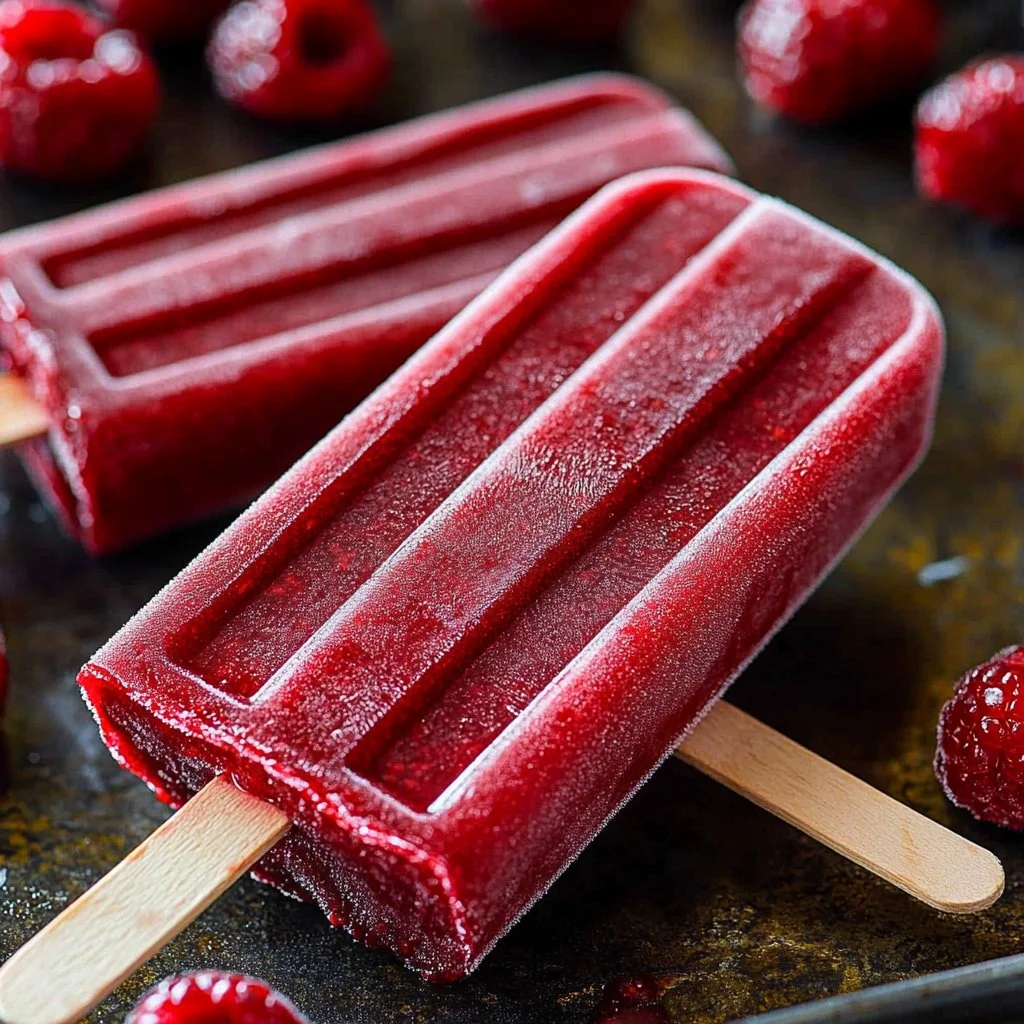
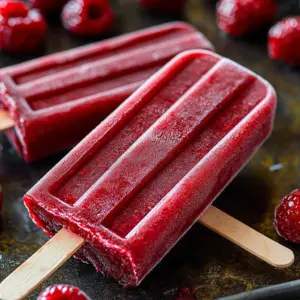
Homemade Cherry Ice Pops are a delightful treat that brings the vibrant taste of summer to your freezer. This recipe is perfect for those hot days when you crave something refreshing yet wholesome. Crafted from simple ingredients, these pops offer a burst of cherry flavor that’s sure to excite your taste buds. With step-by-step directions, even the novice cook can whip up these icy delights in no time. So let’s dive in and discover why making Homemade Cherry Ice Pops is a must this summer!
Why You’ll Love This Recipe
This Homemade Cherry Ice Pops recipe is not only easy to prepare but also family-friendly, making it a great choice for all ages. The ingredients consist of just three simple items, ensuring that you spend minimal time in the kitchen. Whether you’re hosting a backyard gathering or simply enjoying a quiet afternoon, these refreshing ice pops can be made quickly or can be prepared ahead of time for those last-minute cravings. The best part? You can control the sweetness, making it a healthier alternative to store-bought options.
Ingredients for Homemade Cherry Ice Pops

- 2 cups frozen cherries: The star of this delightful recipe, frozen cherries bring a sweet and tangy flavor.
- 1 cup water: This helps to blend everything smoothly, creating that perfect pop consistency.
- 1-2 teaspoons honey (or agave syrup, maple syrup, or sugar): A touch of sweetness to balance the tartness of the cherries, with options for every dietary preference.
Step-by-Step Directions for Homemade Cherry Ice Pops
- In a high-speed blender, combine the frozen cherries, water, and your choice of sweetener until the mixture is smooth and velvety.
- Carefully pour the cherry mixture into ice pop molds, taking care to leave a small space at the top for expansion as they freeze.
- Freeze the molds for at least 4 hours or, for optimal firmness, overnight. Patience will reward you with the perfect texture!
- When ready to serve, run warm water over the outside of the mold for a few moments if needed, then gently pull out the pops. Enjoy your homemade delights!
Tips & Tricks
Take your Homemade Cherry Ice Pops to the next level with some of these chef’s secrets. For an extra burst of flavor, consider adding a splash of lemon juice or orange juice before blending. Not only will this elevate the taste, but it will also provide a refreshing zing. If you prefer a creamier pop, blend in a little coconut milk or yogurt. And for the adventurous ones, adding mint leaves before blending can give a wonderful herbal twist to your pops, enhancing their refreshing nature.
Serving Suggestions & Pairings
Present your Homemade Cherry Ice Pops in fun, colorful molds to make them visually appealing. These delicious treats can be served as a standalone dessert or a fun addition to a summer picnic. Pair them with fresh fruits like sliced strawberries or peaches for a fruity dessert platter. You could even serve them alongside a dollop of whipped cream or a scoop of vanilla ice cream to create a fantastic dessert experience.
Nutritional Information
Homemade Cherry Ice Pops are not only delightful but also relatively healthy. Each pop contains approximately 50-60 calories, primarily coming from the natural sugars in the fruit and the sweeteners used. The cherries provide essential nutrients, such as vitamin C, fiber, and antioxidants, making these pops a smart choice to cool off this summer. Enjoy them guilt-free and treat yourself to a delightful indulgence!
Storing Tips & Variations for Homemade Cherry Ice Pops
Once your Homemade Cherry Ice Pops are frozen, you can store them in an airtight container in the freezer for up to three months. This way, you ensure they remain fresh and ready to impress your guests or satisfy your cravings. For variations, try using different fruits like mango, blueberries, or a mix of your favorites. You could even create layers by blending different fruits separately and pouring them in sequentially for a beautiful two-tone effect.
Conclusion for Homemade Cherry Ice Pops
There’s no better time than now to treat yourself to these delicious Homemade Cherry Ice Pops. They promise an exciting burst of flavor with every bite and are a perfect way to embrace the joys of summer. Don’t waste any time; gather your ingredients and make this refreshing, healthy treat today!
FAQs
- Can I use fresh cherries instead of frozen?
- Yes, fresh cherries work well too. Just be sure to pit and chop them before blending.
- Is it necessary to add sweetener?
- It’s optional. If your cherries are sweet enough, you can skip it or reduce the amount!
- How long do these ice pops last in the freezer?
- They can last up to three months if stored properly in an airtight container.
- Can I add other fruits to this recipe?
- Absolutely! Feel free to get creative with other fruits like bananas or berries for a unique flavor.
- What tools do I need to make Homemade Cherry Ice Pops?
- A high-speed blender and ice pop molds are essential. You may also want some sticks if your molds don’t come with them.
Homemade Cherry Ice Pops
Ingredients
Main Ingredients
- 2 cups frozen cherries The star of this delightful recipe, bringing a sweet and tangy flavor.
- 1 cup water Helps to blend everything smoothly.
- 1-2 teaspoons honey (or agave syrup, maple syrup, or sugar) A touch of sweetness to balance the tartness of the cherries.
Instructions
Preparation
- In a high-speed blender, combine the frozen cherries, water, and your choice of sweetener until the mixture is smooth and velvety.
- Carefully pour the cherry mixture into ice pop molds, leaving a small space at the top for expansion as they freeze.
- Freeze the molds for at least 4 hours or, for optimal firmness, overnight.
- When ready to serve, run warm water over the outside of the mold for a few moments if needed, then gently pull out the pops.